A small tutorial of postprocessing images
author: andrei kletskov (111) - http://andklv.narod.ru, date:
30 june 2004
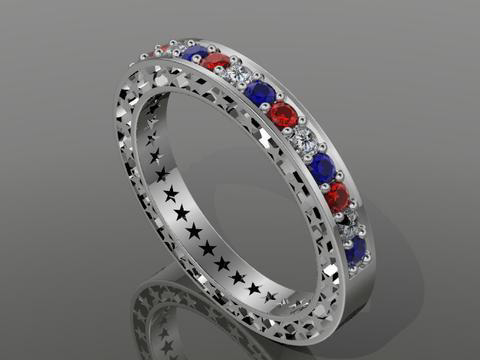
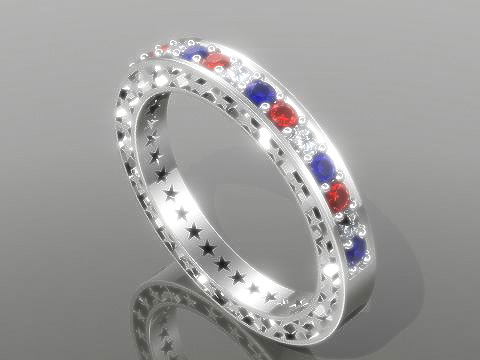
Let's start, you have an image you want to give more life. I took a jewelry image for an example. Here is initial image
load it into photoshop
convert it ti 16 bits per channel (this gives you much better quality while processing blurs or gradients or contrasts) but you can do all the steps below with 8 bits also
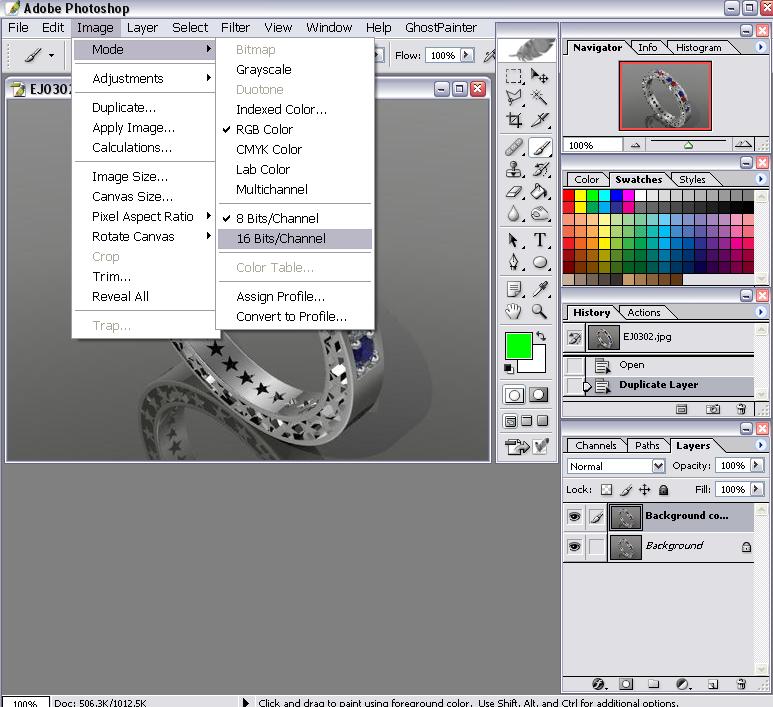
then copy the layer and blur the copy slightly
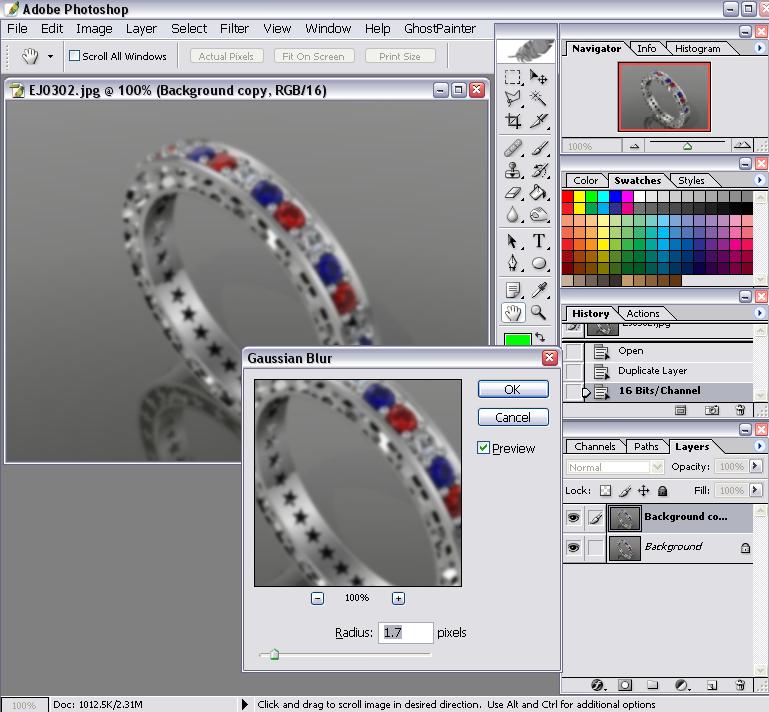
change the blurred layed mode to lighten
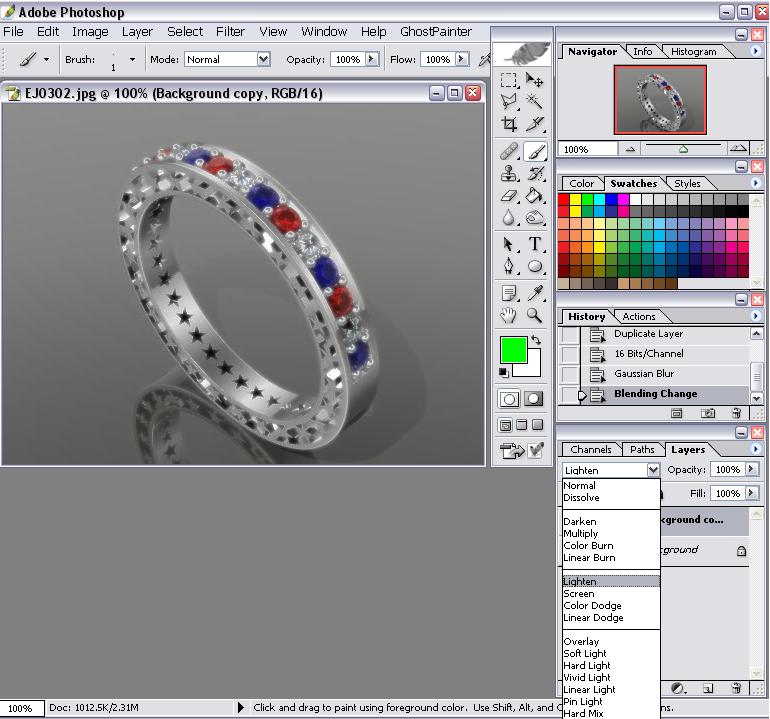
you can adjust opacity as you wish, i decided here to leave opacity to 100%
merghe blurred layer down
copy layed again and go to select - color range (you will select colors which you are going to accent with highlights)
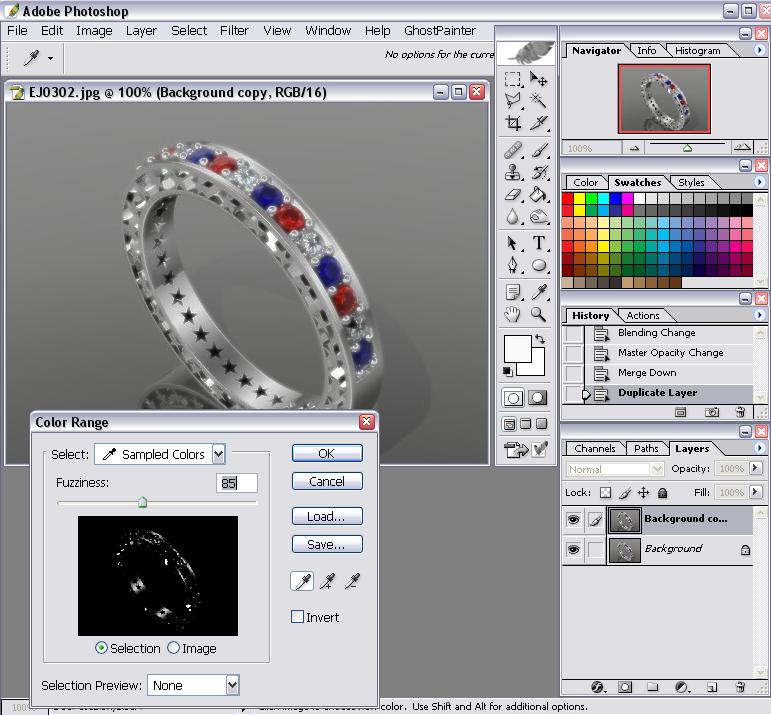
inverse the selection and delete it
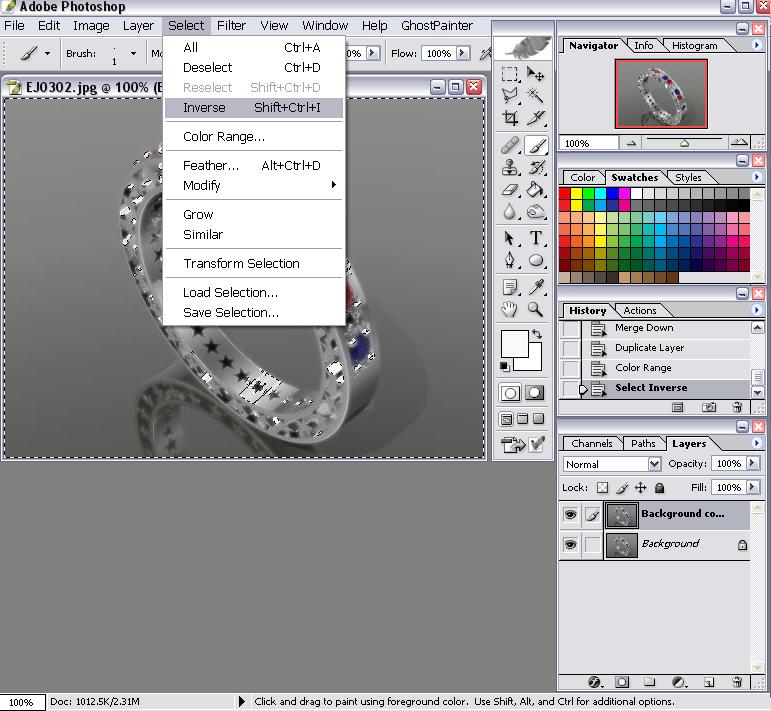
now you must have somwthing likw this (if you turn off the lower layer)
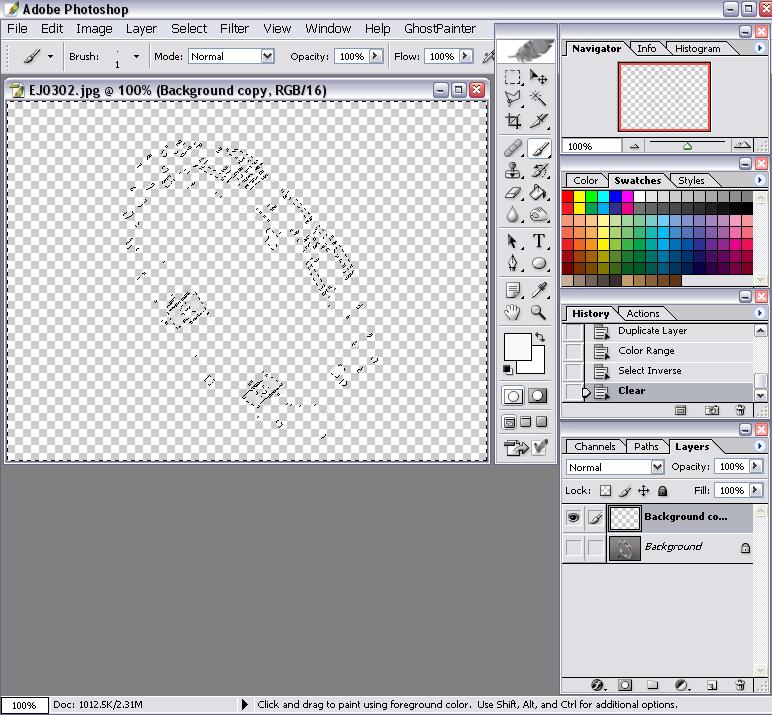
deselect all, you must have now onw lower layer and layer above with areas of highlights
blur upper layer, you can copy upper layer and blur it also - play with it till you get nice highlights. i have 3 layers here with different opacities and amount of blur

merge everything down and go to brightness-contrast, change the slider to get more contrast and brighter look, or the look you like more. generally agusting brightness-contrast will allow your highlights to glow nicely

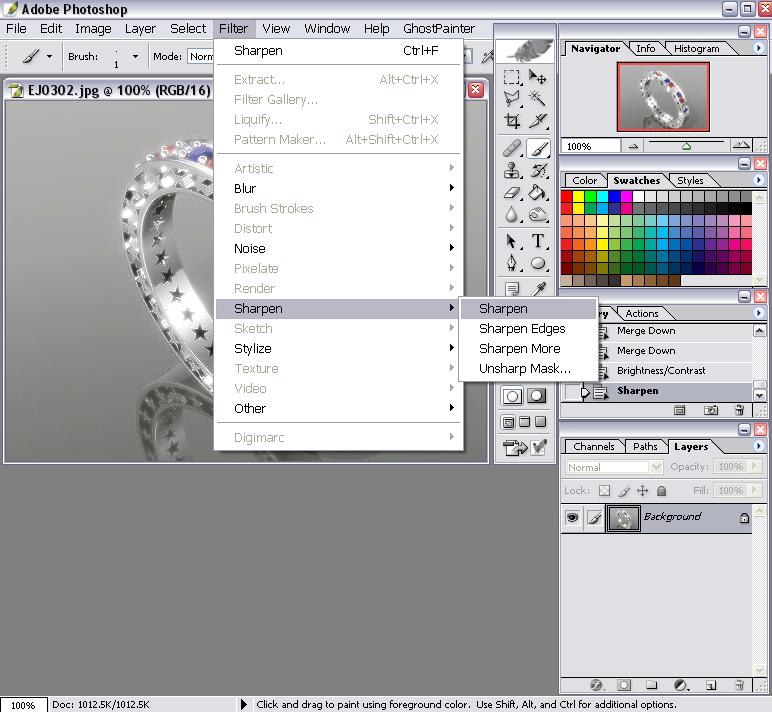
apply sharpen filter once to get your details sharper and more noticeable
convert image back to 8 bits and save it
that's it, you can do with photoshop any kind of color adjustments and tricks like this to give nice highlights to your image
final image and initial one
another ring (as you can see i used color correction to make the image more colorfull and of course highlights)
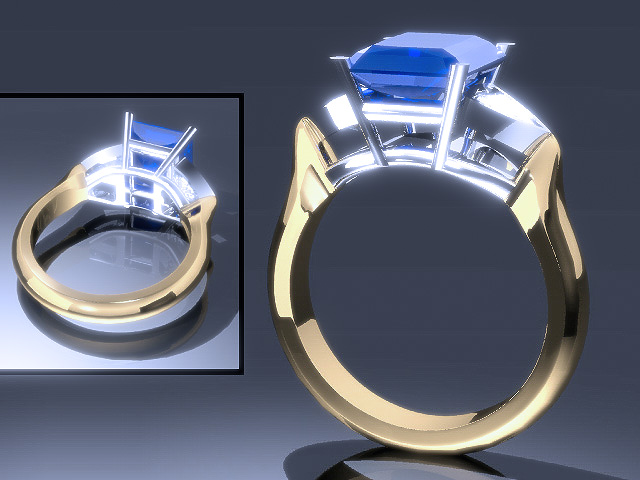
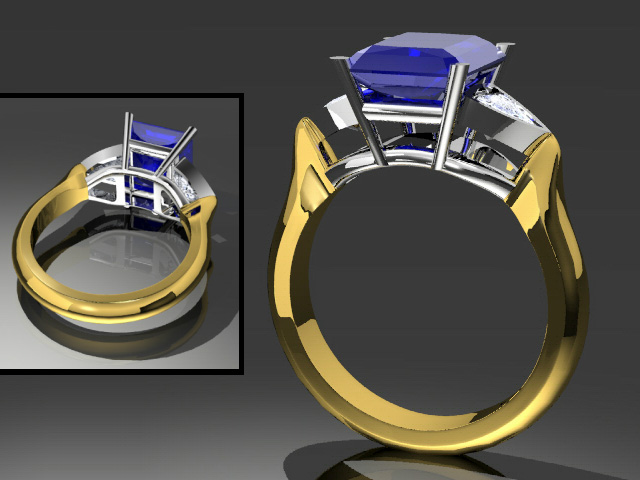
generally, you need to know what are you going to add to your image to make it look more like photo and then just implement it with photoshop, you can even draw highlights with paintbrush, you can everything :)